
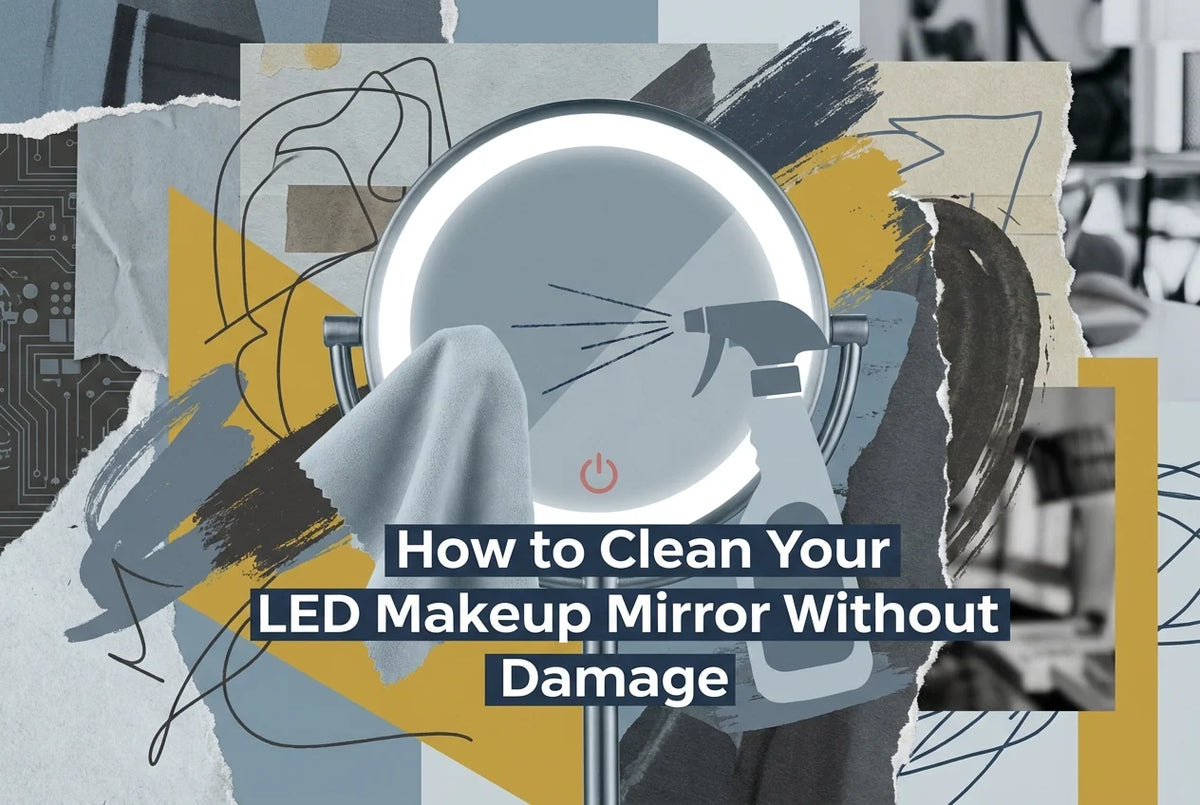
Your LED makeup mirror is not a pane of glass. It is a coated optical surface with a reflective layer, an anti-fog coating, touch sensors, LED strips, and a driver board tucked behind the glass. Treat it like precision equipment, and it will keep reflecting clearly and lighting evenly for years. Treat it like a bathroom window, and the products you spray at your own face will dull the reflection and cloud the anti-fog layer.
Ammonia glass cleaner, paper towels, and daily spritzing are the culprits. This guide explains why an LED makeup mirror needs a material-by-material cleaning protocol rather than a quick wipe. You will learn the five-item kit, the four-step sequence, and how to clean the reflective glass and coating, the anti-fog layer, the touch sensor, buttons, and seams, the LED housing and charging port, and the frame, stand, and hinges. We also cover what not to use, the rule on alcohol and stubborn marks, how often to clean, whether good care protects your warranty, and what to look for in a mirror that is easy to care for. The takeaway is simple: change the product, not the effort.
Why an LED Makeup Mirror Is Not Just a Pane of Glass
An LED makeup mirror is not one surface but three stacked systems: a coated reflective front, an anti-fog heating layer behind it, and frame electronics including the driver board, LED strips and touch sensor.
IP44 is splash protection, not permission to spray (IEC Ingress Protection ratings). Aim a bottle at the glass and liquid runs to the edges, where the driver board, LED strips, sensor and heating pad sit.
Three habits frequently cited in mirror-care guidance: ammonia-based glass cleaner, paper towels, and spritzing setting spray or hairspray at the glass. Residue invisible on a window is obvious under LED light, and hairspray and powder film is what shows once the lights are on.
This protocol suits any lit mirror, from a compact LED light makeup mirror to a full-size makeup mirror with LED lights, because the surfaces being protected are the same.
What to Use Instead of Glass Cleaner: The Five-Item Kit
Your kit is five items, none of them a spray aimed at the glass.
Two or three microfibre cloths: one for dry dusting, one for the damp pass, one dry for the final buff. Wash without fabric softener so they stay absorbent rather than smeary.
Ammonia-free glass cleaner, applied to the cloth rather than the mirror, or lukewarm water with a single drop of mild washing-up liquid.
A dry cotton bud or soft brush for the charging port and the seams around the buttons.
A separate dry cloth so the damp cloth never does the finishing work.
In hard water areas, keep distilled or filtered water for a final pass to limit mineral spotting. That is our practical tip, not a manufacturer requirement. Store the kit with your mirror and lights setup.
The Four-Step Sequence, In Order
Order matters. Step 1: switch the mirror off and unplug it. If the anti-fog function has been running, let the surface cool. Keep the sensor dry to avoid unintended input.
Step 2: dry-dust the whole surface with a dry microfibre cloth. Starting damp pushes dust and powder across the glass and works it into the coating.
Step 3: wipe lightly damp, cloth only. Work from the centre outwards, stopping short of the frame and seams.
Step 4: buff dry immediately with the second cloth. Air drying can leave streaks and allow remaining liquid to travel toward the electronics.
Vendor care guides converge on this sequence as best practice. For a similar routine on a magnifying mirror with light, the same rules apply.
Cleaning the Reflective Glass and Its Coating
Using the sequence above, apply ammonia-free cleaner to the cloth, never spray at the glass, lights, seams, buttons or charging area.
Ammonia can damage a mirror coating, so standard ammonia-based glass cleaner should not be used on a coated mirror surface. The glass industry's cleaning procedure for flat glass mirrors advises against ammonia and vinegar cleaners, which attack the surface and backing.
Paper towels, kitchen roll and abrasive pads leave fine scratches on coated glass; fine scratches accumulate on coated glass over time.
Work in straight, overlapping passes, refolding the cloth to a clean face as it loads with product film. For makeup or setting spray smears, do a second light damp pass rather than pressing harder; pressing harder risks scratching the coating, so a second light damp pass is safer.
Cleaning the Anti-Fog Layer
The anti-fog layer is the most delicate surface on an LED makeup mirror. It is a coating, not glass, and scrubbing damages it.
Bleach, acetone and high-strength alcohol are off-limits here. If you use alcohol at all, keep it below roughly 30% concentration.
Clean it as you would the glass: cleaner on the cloth, lightly damp, brief contact, dry straight away. No soaking, no rubbing, no second aggressive pass. Left sitting, cleaner clouds the panel, so always finish with a dry buff.
Not every LED makeup mirror has an anti-fog function, so check your model's manual before assuming the panel behind the glass needs this treatment. Our guide to anti-fog, touch sensors and motion activation explains what is worth paying for. The sensor and seams come next.
Cleaning the Touch Sensor, Buttons and Seams
The same restraint applies at the sensor and its seams, where the risk is electronics rather than coating. Wipe the sensor with the damp cloth and dry it straight away. Never spray at the sensor, and never let cleaner pool around a button.
Do not hold or press the sensor while you clean, and keep the area dry to avoid unintended input.
For the seam between the glass and the frame, use a dry cotton bud to lift powder out rather than pushing liquid into it. Keep cleaner away from the gaps around dimmer buttons and switches, as those gaps can allow liquid to reach internal components.
If the sensor misbehaves after a clean, switch the mirror off, dry the area fully, give it time before you assume a fault.

Cleaning the LED Housing and Charging Port
Once the sensor and button seams are dry, move to the light housing and the charging port, where the rules change.
With the mirror unplugged and cool (as in Step 1), wipe the LED housing and diffuser with a dry microfibre cloth. A damp cloth can trap water marks behind the diffuser where you cannot reach them. If the light looks dim or uneven, check the diffuser for dust and product film before suspecting an electrical fault.
Use a dry cotton bud or a soft dry brush for the charging port. Never a damp cloth, spray or wet wipe; moisture here reaches the electronics directly.
End every pass short of the seams between glass and frame to avoid drawing liquid toward the LED strips.
Cleaning the Frame, Stand and Hinges
Finish with the parts that never touch your reflection. Wipe the frame and stand with a barely damp microfibre cloth, then dry immediately; leaving surfaces wet can mark painted plastic and metal finishes. Clean hinge points and tilting arms with a dry cloth only, so old product residue is not pushed into the joint. Skip furniture polish and oily dressings. They leave a film that migrates onto the glass and shows up under the LED lights. If you use loose powder daily, wipe the stand base and the shelf beneath it more often than the mirror itself. Size, shape, and placement on your dressing table also influences how much powder drifts onto that shelf.
What Not to Use on an LED Mirror
The frame is clean. Now rule out what damages the surface.
Ammonia-based glass cleaner goes first: glass sprays often contain ammonia and are not formulated for coated mirror surfaces or electronics.
As noted above, bleach, acetone and alcohol above roughly 30% are off-limits.
Keep alcohol away from the sensor, seams and charging port.
Paper towels and abrasive sponges scratch coated glass (covered above).
The quiet offender is spray aimed at the mirror. Sprays used at the mirror can deposit a film on the glass that becomes visible when the LEDs are on. Spray at arm length, angled away, or step back when using a travel makeup case with a built-in LED mirror.
One Clear Rule on Alcohol and Stubborn Marks
Cleaning guides split on alcohol: some reach for rubbing alcohol on stubborn spots, others cap it at around 30%. Settle it with one rule.
The rule: alcohol at or below roughly 30%, applied to the cloth, never poured or sprayed onto the glass, the sensor, the seams or the charging port. Treat it as a spot treatment only, for marks a damp microfibre cloth and ammonia-free cleaner will not lift. It has no place in your weekly wipe-down.
For mascara or gel liner, do not scrub. Wipe with the damp cloth and give the mark a moment to soften. Both abrasion and harsh chemistry can damage coated glass; abrasive cloths and harsh solvents each pose a risk. If you cannot tell what the mark is, read the guidance supplied with your model before introducing any solvent.
How Often Should You Clean a LED Makeup Mirror?
With that rule set, frequency is simpler. No manufacturer fixes an interval; care guidance says only to clean regularly. Weekly is a practical recommendation, not a specification.
Dry dust and buff every few days. Damp pass with ammonia-free cleaner roughly weekly, or whenever streaks and film appear. Clean more often if your mirror sits beside the sink, or if setting spray and loose powder are daily habits.
Change the habit rather than adding a step: spritzing at a lit mirror lays a fresh film on the coating every morning. As a practical note, residues such as glitter and heavy powder can drag across the glass on the next wipe if not spot-cleaned first. If you are still choosing, which mirror matches your daily beauty routine shapes how much upkeep it needs.
Does Good Care Protect Your Mirror and Its Warranty?
Yes, and more than most people realise. Following the manufacturer's care guidance matters for warranty purposes, because damage from prohibited products is typically excluded, and the same products the avoid-list covers are often what a warranty claim hinges on.
Keep your proof of purchase, as the Consumer Rights Act 2015 makes it the starting point for any faulty-goods claim, and jot down roughly when and with what you cleaned the mirror, especially in year one.
Where your model comes with a manual, follow its cleaning method. It is written for that coating, not for mirrors in general. A budget mirror and a premium one need identical treatment; method, not price, keeps the reflection and LED output sharp. If a fault appears, describe your cleaning routine when you contact the seller. It is the context that separates a coating problem from a misuse problem.
What to Look For in a Mirror That Is Easy to Care For
If care protects your mirror, the mirror should make care easy. When buying or replacing an LED makeup mirror, check three things: a frame that sits close to the glass, so residue cannot collect in a wide channel; a touch sensor you can reach and dry quickly; and a charging port tucked away from spray. An anti-fog panel you can wipe without wetting the seams matters more than another brightness setting.
Glow & Stow sells LED makeup mirrors alongside beauty cases, makeup brush sets and storage organisers. Orders over £50 ship free with 24-48 hour tracked delivery, a 30-day money-back guarantee and Klarna Buy Now Pay Later.
Choose a brand that publishes care guidance. A mirror arriving with cleaning instructions is easier to keep looking new than one arriving with a plug and nothing else.
The Takeaway: Change the Product, Not the Effort
Keeping your mirror looking new comes down to swapping three habits. Out: ammonia glass cleaner, paper towels and spraying directly at the mirror. In: microfibre cloths, ammonia-free cleaner applied to the cloth, and lukewarm water. Keep a dry cotton bud for the charging port and a dry cloth for the buff.
Follow the four-step sequence every time. This short routine protects the glass, the anti-fog layer and the electronics at once.
Clean when residue shows rather than by the clock. Keep alcohol below roughly 30% and away from the sensor, and never let liquid run near a seam. Do that and your reflection stays bright, and if a fault ever appears, your cleaning record supports you.
Conclusion
Follow the method above, microfibre cloths, ammonia-free cleaner on the cloth, the four-step sequence, and alcohol below 30% kept away from seams and sensors. This routine protects the glass coating, anti-fog layer and electronics, and supports your warranty records.
Next, make that routine automatic. Explore Glow & Stow's LED makeup mirrors, beauty cases, makeup brush sets and storage organisers to find a mirror built for easier care.


Leave a comment
All comments are moderated before being published.
This site is protected by hCaptcha and the hCaptcha Privacy Policy and Terms of Service apply.